X (Twitter)


$395 - $520
ClassBento money-back guarantee
Our mission is to improve mental wellbeing through our workshops and experiences. We curate our teachers and hosts carefully to ensure that they are of high quality.
That's why we provide a money-back guarantee*: If you're unsatisfied with this experience, just leave it at least 20 minutes before it ends, and tell us (the ClassBento team) the reason for your dissatisfaction within 4 hours of that time, and we'll provide you with a refund.
* We may choose to limit our refund per customer at $1000. In some rare cases, we may also require you to show us your photo ID before we process the refund.
Please choose a time
Please choose a date and time by clickingtapping the dropdown menu (that's just to the left of the button you clicked), before clicking the 'Buy' button.






Nearby stores
Done!
We've added you to the waitlist for this product - we'll automatically notify you via email when new dates become available.
How Afterpay works


Please note: Afterpay is not available on bookings of over $1,000, and on certain classes.
Book now, pay later
With Zip, you can book now to ensure you don't miss out on the date you like, and pay later, interest free (nothing to pay today).
Just proceed to the checkout, and use the "Zip" option for payment.
Over 800,000 Australians use Zip. Learn more about Zip.
Request a private product
Pick time(s) that suit you, and ask any questions
reply
We'll respond via email & text message
(with a booking link), usually within a few hours
check
This provider has accepted 90% of their Requests
check_circle
You'll be in good hands. This provider is rated 4.9 out of 5, from 288 reviews
Pick a time on
ClassBento money-back guarantee
Our mission is to improve mental wellbeing through our workshops and experiences. We curate our teachers and hosts carefully to ensure that they are of high quality.
That's why we provide a money-back guarantee*: If you're unsatisfied with this experience, just leave it at least 20 minutes before it ends, and tell us (the ClassBento team) the reason for your dissatisfaction within 4 hours of that time, and we'll provide you with a refund.
* We may choose to limit our refund per customer at $1000. In some rare cases, we may also require you to show us your photo ID before we process the refund.
How can we help?
Q: What's the cancellation policy?
A: No cancellations, but free to reschedule up until 3 days before the event
Q: How long does the class run for, and what's the price?
A: 0 hours, $395 - $520 per guest ($395 for Local pick up Perth,WA 6034; $465 for Australia-wide delivery; $520 for Worldwide shipping)
Please enter your name
Please enter a valid email
Please enter a message
You did not pass the Captcha test. Please click the button to try again
done Thanks, we'll be in touch
Demountable Handcrafted Tufting Frame for DIY Rug Making
Craft with ease, create with style - Tuft like a pro!

WA MosaicArt
4.9 (288)
 $395 - $520
($395 for Local pick up Perth,WA 6034; $465 for Australia-wide delivery; $520 for Worldwide shipping)
(PayPal Pay in 4 available)
$395 - $520
($395 for Local pick up Perth,WA 6034; $465 for Australia-wide delivery; $520 for Worldwide shipping)
(PayPal Pay in 4 available)
What you'll get
(delivered to you)
info
This product is not available for purchase
- High: 160-165cm
- Width: 75-90cm
- Depth: 65-75cm
What you'll need
Best of all, everything you need is included in the package, so you won't need to buy anything extra.
Your provider
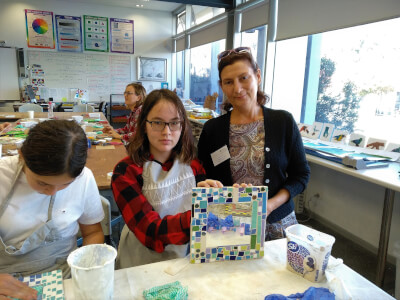
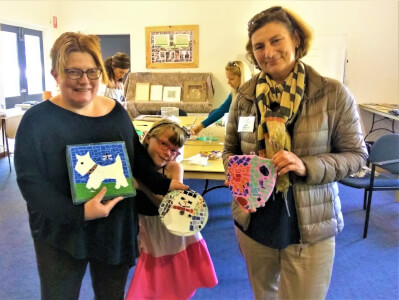
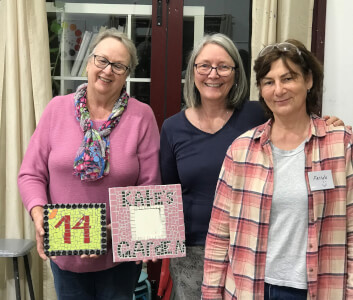
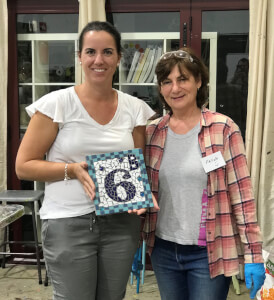
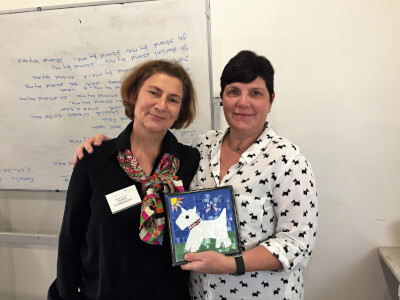
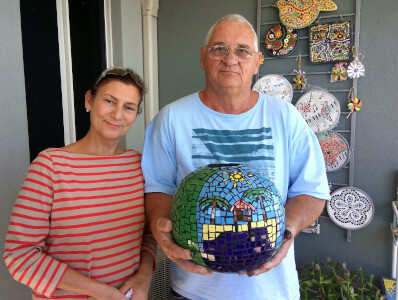
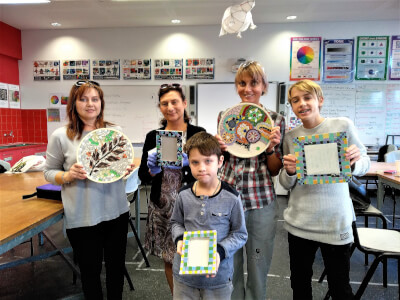
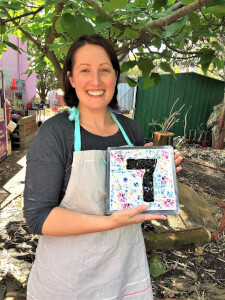
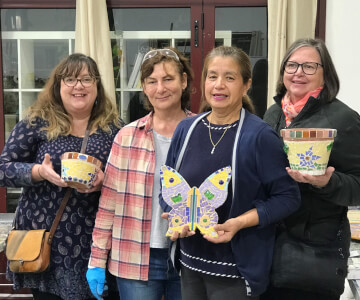
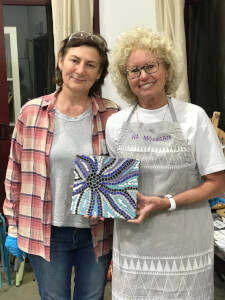
Hi, I’m Farida – your mosaic art guide in Perth!I discovered the joy of mosaics 25 years ago when I picked it up as a hobby. It didn’t take long for me to fall in love with the process — the colours, textures, and creativity completely captivated me. That passion soon grew into something more, and today I’m lucky enough to call it my job.I now run mosaic classes for people of all ages and backgrounds — from complete beginners to children, adults, and seniors. Whether you're exploring a new creative outlet or looking for a mindful way to unwind, my classes offer a welcoming space to learn, create, and connect.My workshops are not only fun and engaging but have also been known to:
- Develop fine motor skills and finger flexibility
- Improve focus and concentration
- Stimulate creativity and self-expression
- Relieve stress and ease symptoms of anxiety or depression
- Encourage mindfulness and relaxation
- Create a supportive, social atmosphere where friendships can blossom
- Helping others discover the calming and joyful nature of mosaic-making gives me great satisfaction. My goal is to support people in living fuller, happier, and more independent lives — one tile at a time.
Join waitlist
Get updated when this product is in
stock.
Unsubscribe any time.
Unsubscribe any time.
E.g. 'Sunday mornings', 'September', etc. We will still email you about other new dates
Please don't include your contact details in this field